SØAD Installation Guide
There are two types of packaging for SØAD, a standalone (default package) and container. Depending on your requirement, you have to choose what suits you best.
SØAD Standalone package includes everything needed to run it as a server application, except the database. You have to manually install your database (default supported database is MySQL).
SØAD can run on any OS that supports JVM, however currently the supported platforms are Linux and Windows only.
Prerequisites:
- JVM/JDK version 11 or latest
- nginx
Instruction for Standalone package installation
Install JVM/JDK 11
-
Update package index:
-
Install JDK 11
-
Verify Installation:
Install and setup MySQL
- Get MySQL repository configuration package
- Install MySQL repository configuration package
- Fetches a public GPG key
- Update package list
- Install MySQL
- For setting MySQL run:
- Verify MySQL is installed
- Create database for SØAD IDE (soadmin) and default application:
- Database
soadmin: - Database
app(replace with the name of application):
- Database
-
Create two users:
- User
soadmin_user: - User
app_user(replace with the name of application):
Tip
Change the password to more secured phrase. You can use any name or password that you want, we are going to need these on the configuration file.
- User
-
Grant privileges on a database:
```mysql GRANT ALL PRIVILEGES ON soadmin.* TO 'soadmin_user'@'localhost'; GRANT ALL PRIVILEGES ON app.* TO 'app_user'@'localhost'; FLUSH PRIVILEGES; ``` -
Create the tables for database soadmin using script file provided.
Setup and configure SØAD
- Install zip utility if not already installed:
- Unpack (unzip) SØAD standalone package in your preferred location. The location of SØAD package will need to be set as
SUFIA_HOMElater.: - Set database credential:
- Open
sufia.app\web\WEB-INF\classes\sufia.propertiesfile using editor. - Change the username and password accordingly:
db.default.url = jdbc:mysql://127.0.0.1:3306/app?autoReconnect=true&useSSL=false&allowPublicKeyRetrieval=true
db.default.driver_class = com.mysql.cj.jdbc.Driver
db.default.username = app_user
db.default.password = <password>

#this is for SØAD IDE
db.s0adm.url = jdbc:mysql://127.0.0.1:3306/soadmin?autoReconnect=true&useSSL=false&allowPublicKeyRetrieval=true
db.s0adm.driver_class = com.mysql.cj.jdbc.Driver
db.s0adm.username = soadmin_user
db.s0adm.password = <password>
- Open
- Update
sufia.app\startup.shfile forSUFIA_HOMElocation: -
Test run SØAD:
-
Go to /home/ubuntu/sufia.app directory and run:
If everything goes well, you should see a console.log file created in the home folder. Check the log file and make sure the server is running successfully without any error.Now the server is running on default port (8080), go to your browser and open: http://localhost:8080. You should see the default SØAD home page
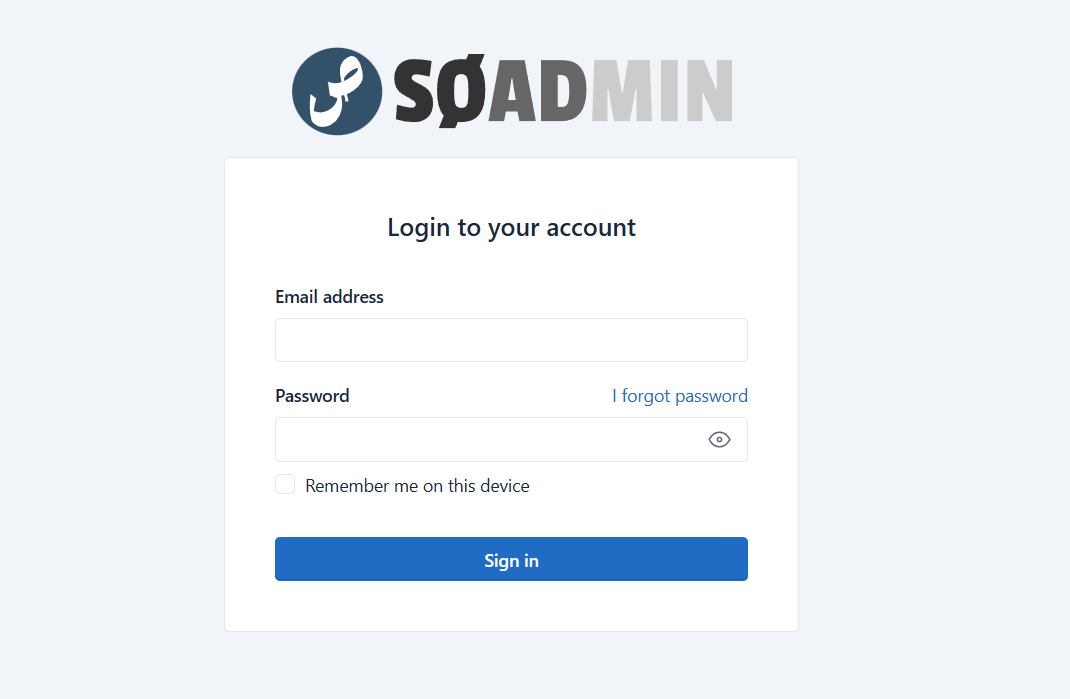
SØAD IDE Login Page
-
-
Install SØAD as a service
Copy the
Then enable and start the service: You can check the status of the service using: You can also view the logs for the service using:sufia.servicefile to/etc/systemd/system/directory: -
Update License Information
For first time login, only master user is allowed to login. You will be given a default username and password for SØAD master user. Use that for first time login.
Upon successfully logging into the system, navigate to the Settings page and select the License menu. Retrieve the license key from the email you received, then click the Update License button. Paste the copied key into the designated field and click Verify to complete the activation process.
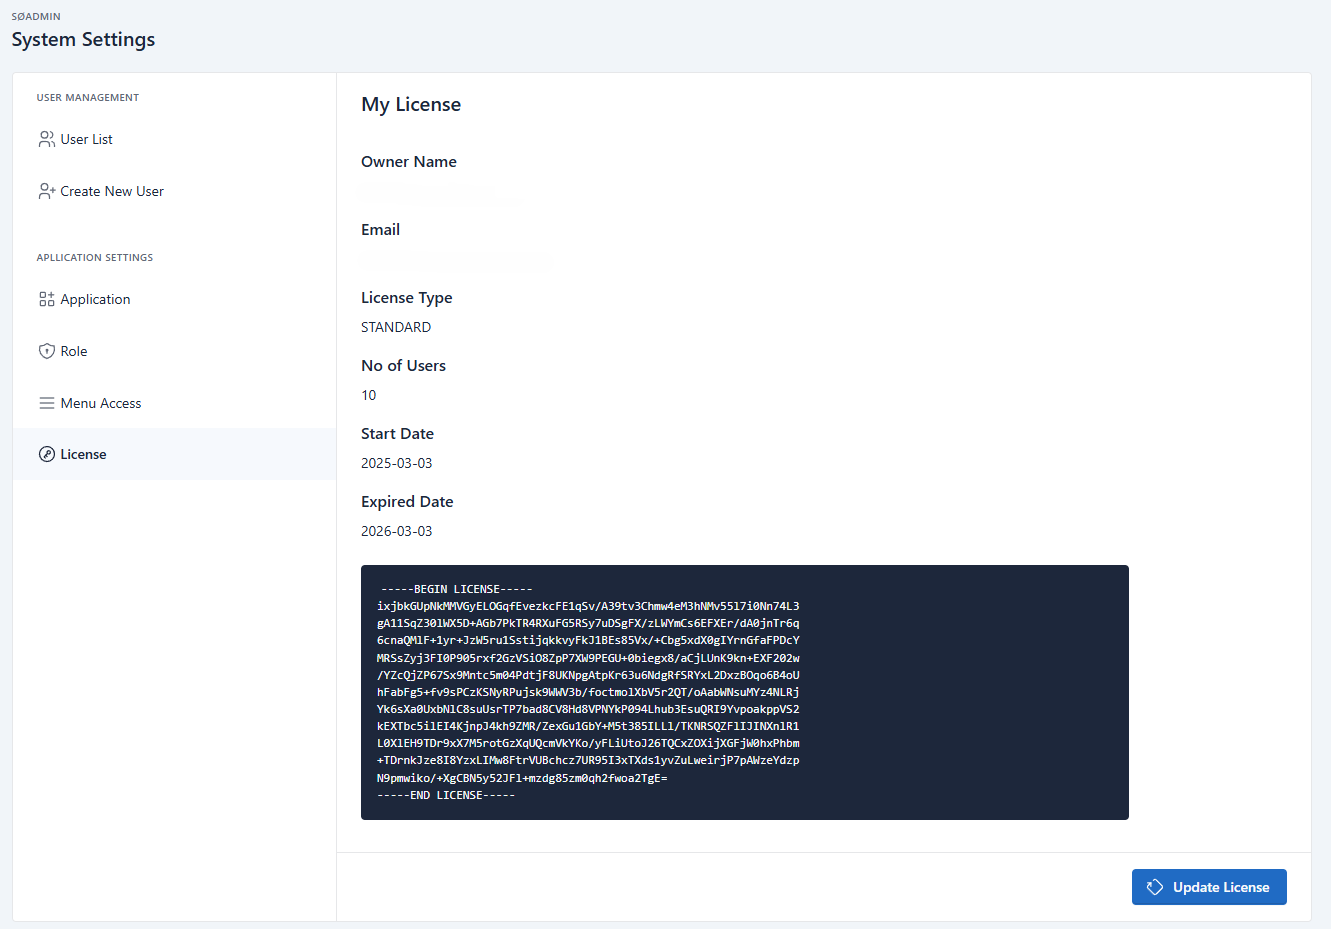
License Page
Install JVM/JDK 11 for Windows
-
Before installing JDK 11, check if JDK is already installed on your system by running the following command:
If the command outputs a version number, JDK is already installed, and you can skip JVM installation step.
-
Download JDK 11:
- Go to the official Oracle JDK Downloads or
- Eclipse Temurin by Adoptium
Download the Windows x64 installer (e.g.,
OpenJDK11U-jdk_x64_windows_*.msi) and run the installer to complete the installation process. -
Verify Installation:
- Open Command Prompt and run:
- Expected output:
Install and setup MySQL for Windows
- Download MySQL:
- Go to the official MySQL Community Downloads
-
Install MySQL:
-
Run the installer and choose the Server Only or Full Installation.
-
Set up the root password when prompted.
-
Complete the installation process.
-
-
Verify Installation:
- Open Command Prompt and run:
- Enter the password to access MySQL.
- Create database soadmin and application:
- Database
soadmin: - Database
app(replace with the name of application):
- Database
-
Create two user soadmin and application:
- User
soadmin_user: - User
app_user(replace with the name of application):
Tip
Change the password to more secured phrase. You can use any name or password that you want, we are going to need these on the configuration file.
- User
-
Grant privileges on a database:
- Grant privileges to these databases using previously created user.
- Create the tables for database soadmin using script file provided.
Setup and configure SØAD for Windows
- Download and install 7-Zip from 7-Zip official website.
- Unpack (unzip) SØAD standalone package in your preferred location. The location of SØAD package will need to be set as
SUFIA_HOMElater.- Right-click on the downloaded
sufia.app.zipfile and select "Extract Here" or "Extract to sufia.app\".
- Right-click on the downloaded
- Set database credential for SØAD:
- Open
sufia.app\web\WEB-INF\classes\sufia.propertiesfile using editor. - Change the username and password accordingly:
db.default.url = jdbc:mysql://127.0.0.1:3306/app?autoReconnect=true&useSSL=false&allowPublicKeyRetrieval=true
db.default.driver_class = com.mysql.cj.jdbc.Driver
db.default.username = app_user
db.default.password = <password>

#this is for SØAD IDE
db.s0adm.url = jdbc:mysql://127.0.0.1:3306/soadmin?autoReconnect=true&useSSL=false&allowPublicKeyRetrieval=true
db.s0adm.driver_class = com.mysql.cj.jdbc.Driver
db.s0adm.username = soadmin_user
db.s0adm.password = <password>
- Open
- Update
sufia.app\startup.cmdfile forSUFIA_HOMElocation: -
Test run SØAD:
-
Launch Command Prompt in the D:\sufia.app directory and run:
If everything goes well, you should see a console.log file created in the home folder. Check the log file and make sure the server is running successfully without any error.Now the server is running on default port (8080), go to your browser and open: http://localhost:8080. You should see the default SØAD home page
SØAD Homepage
-
-
Update License Information
For first time login, only master user is allowed to login. You will be given a default username and password for SØAD master user. Use that for first time login.
Upon successfully logging into the system, navigate to the Settings page and select the License menu. Retrieve the license key from the email you received, then click the Update License button. Paste the copied key into the designated field and click Verify to complete the activation process.
License Page Now your SØAD application is ready.
Setup web server as proxy to SØAD server
You can now setup web server as proxy to SUFIA server (e.g. nginx, apache). You also can setup SSL on the web server. Refer to these excellent articles:
Container
SØAD can be run in a container. The container is built using Docker and can be run on any platform that supports Docker.
Prerequisites:
- Docker installed on your system
Pulling the SØAD Docker Image
To pull the SØAD Docker image, run the following command:
This command will download the latest SØAD image from the GitLab registry.Running SØAD in a Container
Before running the container, ensure that you have a MySQL database set up and accessible. You will need to create a database named soadmin and another for your application (e.g., app), along with the necessary users and permissions as described in the standalone installation section.
To setup the configuration for the SØAD container, you can create a sufia.properties file with the following content:
db.default.url=jdbc:mysql://<mysql_host>:3306/app?autoReconnect=true&useSSL=false&allowPublicKeyRetrieval=true
db.default.driver_class=com.mysql.cj.jdbc.Driver
db.default.username=app_user
db.default.password=<app_password>

db.s0adm.url=jdbc:mysql://<mysql_host>:3306/soadmin?autoReconnect=true&useSSL=false&allowPublicKeyRetrieval=true
db.s0adm.driver_class=com.mysql.cj.jdbc.Driver
db.s0adm.username=soadmin_user
db.s0adm.password=<soadmin_password>
Replace <mysql_host>, <app_password>, and <soadmin_password> with your actual MySQL host and credentials.
You can mount this configuration file into the container when you run it.
To run the SØAD container with the configuration file, use the following command:
docker run -d -p 8080:8080 \
    --name sufia \
    -v /path/to/sufia.properties:/app/conf/sufia.properties \
    -v /path/to/local/webapp:/app/webapp \
    registry.gitlab.com/pakcusoft/soad-cloud
Replace /path/to/sufia.properties with the actual path to your sufia.properties file and /path/to/local/webapp with the path to your local web application folder on your host machine. This command will run the SØAD container in detached mode, mapping port 8080 of the container to port 8080 on your host machine, mounting the configuration file, and mounting the local web application folder into the container.
Accessing the SØAD Application
Once the container is running, you can access the SØAD application by navigating to http://localhost:8080 in your web browser. You should see the SØAD IDE Login Page.